Today I obsessed over my knit edge technique. This was caused by a new upcoming video that I'm going to do about unknitting. Unknitting the Ks and Ps are simple really; it's the edges that cause all the problems. So I pondered once again, "How to knit a neater edge?"
A neater edge in most people's opinion is called a Slip Stitch Edge or an Open Slip Stitch Edge, which creates a cool looking chain effect on the edges rather than the bumps you get if you knit all stitches of garter stitch pattern and in stockinette where you knit all right side stitches and purl all wrong side stitches without consideration for what is happening to the edges.
The edge stitches are called the selvage. I've read that there are times when you actually want the bumps because it's easier to line up two pieces of knit fabric row for row; I suppose seaming would an appropriate time when this would be beneficial. But I'm not into making garments. So the edges of my knitting are just as important to me as what's in the middle. Briefly I will write out the numerous ways in which people claim to get the best edge effect without the bumps. I will tell you that some of these do not work for both stockinette and garter stitch patterns. At the end of all this gibberish I will give my two cents worth opinion on which I prefer, but first...
Some quick abbreviations to limit my typing.
K = knit ; P = Purl
SL = slip one stitch. You do not actually work the yarn through the loop you are slipping.
1st = the first stitch to be worked of the row
last = the last stitch to be worked of the row
st(s)= stitch(es)
KW = knitwise or "as if to knit" Bring yarn to back as if to K , insert needle as if to K
PW = purlwise or "as if to purl". Bring yarn to the front as if to purl, insert needle as if to purl.
TBL = the needle is inserted through the back loop; rather than through the front loop (or leg).
RS = right side (the knit side of stockinette pattern)
WS = wrong side (the purl side of stockinette also called reverse stockinette)
These are examples that I've found:
- SL 1st st & last st KW for all RS rows and P all sts for all WS rows
- SL 1st st KW and K last st for every row
- SL 1st st KW on RS rows and SL 1st st PW for all WS rows
- SL 1st st PW and K last st TBL for every row
- SL 1st st PW and K last st for every row
- SL 1st st KW and P last st for every row
- K 1st st TBL and SL last st PW for every row
- SL 1st PW and P last st for every row
That might be it. So what does all this mean and how can you apply it to your knitting? Well, personally I don't like any of the directions where I have to do one thing on the RS row and something else on the WS row. Why? Because I forget which row I'm on and wind up creating a bump in the middle of my pretty chained edge! YIKES, then I have to unknit the edge and twist them the right way. Not worth it IMO. And besides you get just as nice of a look with others that are good for both RS, WS, stockinette and garter.
There is something that I learned with all this, and believe me I have a huge pile of little skinny samples I've been doing. And that is that every time I knit something there is always a border edge or a selvage which is usually seed st or garter stitch. Other than straight stockinette there is no time that I can recall the first stitch of a row being a purl. Why is this important you may wonder. Well that means to do a sample I need to knit something with a garter stitch border; or just knit garter stitch. Small steps, but I do learn some things with all this experimentation.
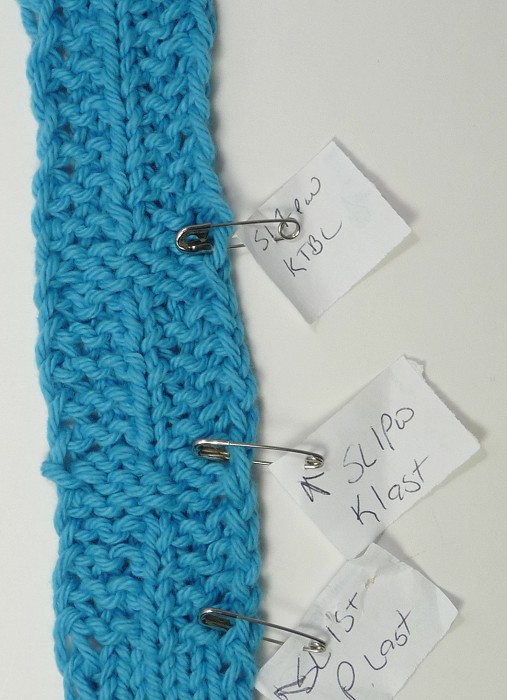
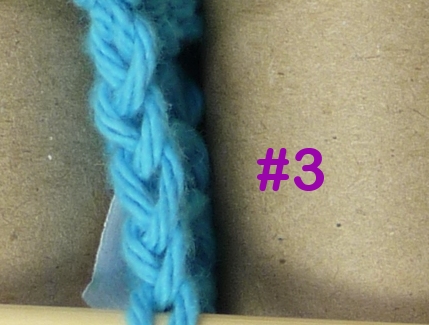
So what you really want to know is which one of that list above to use. IMO there were 3 choices by the finished look. They are pictured at the top of this post:
- SL 1st st PW and K last st TBL for every row
- SL 1st st PW and K last st for every row
- SL 1st KW and P last st for every row
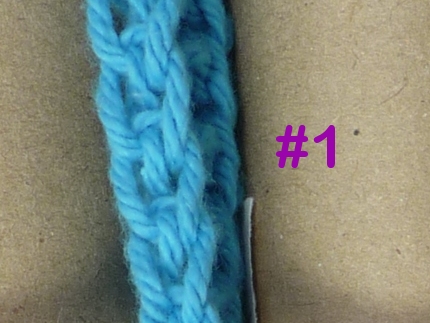
1. Creates an open chain edge in which the yarn is not crossed at all in the chain for both stockinette and garter. While I like this because it keeps the sts perfectly on the sides, I don't like it because the edge looks too loose.
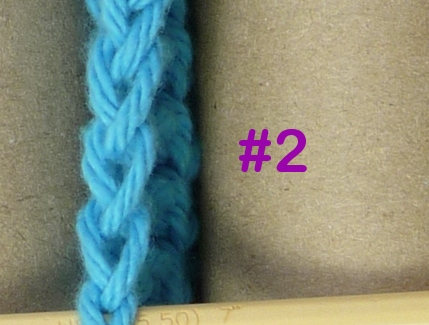
2. This one creates a twisted chain which I like better than the open chain because it is tighter. It also works for both stockinette and garter pattern. The problem with this one is that when you knit the last stitch, the stitch is twisted and is tight to knit into. Several times my needle came flying out due to the tension and I was left wondering how to put the stitch back on the right needle to knit it. This looks exactly like...
3. This also creates the twisted chain look, it works on both garter and stockinette, it looks exactly like #2 but there is no tight twisted stitch to knit into. IMO this is the best bet.
I did investigate into the mystery of the chain edge once a long time ago and much to my delight I havebeen slipping the the first stitch knitwise and purling the last, which is exactly what I've just suggested. Yeah!
Now you wonder, what do you do if your pattern if it doesn't already tell you to slip stitches? Ah this is easy. Simply cast on 2 more stitches than the pattern tells you to cast on. You will SL your first stitch KW, work the pattern in full for that row, then P the last stitch. Simple as pie.
Let me know if you found this helpful. I do appreciate feedback. :)

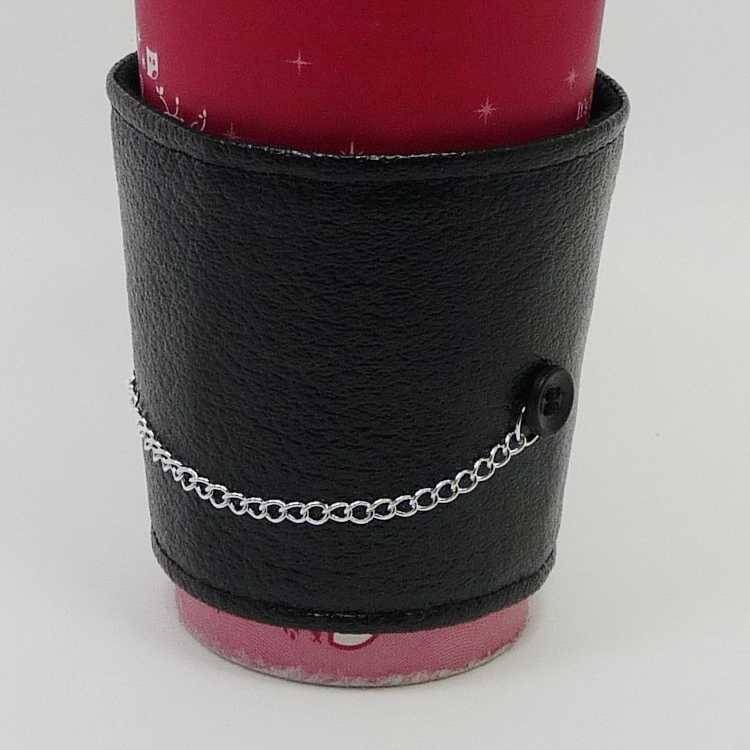
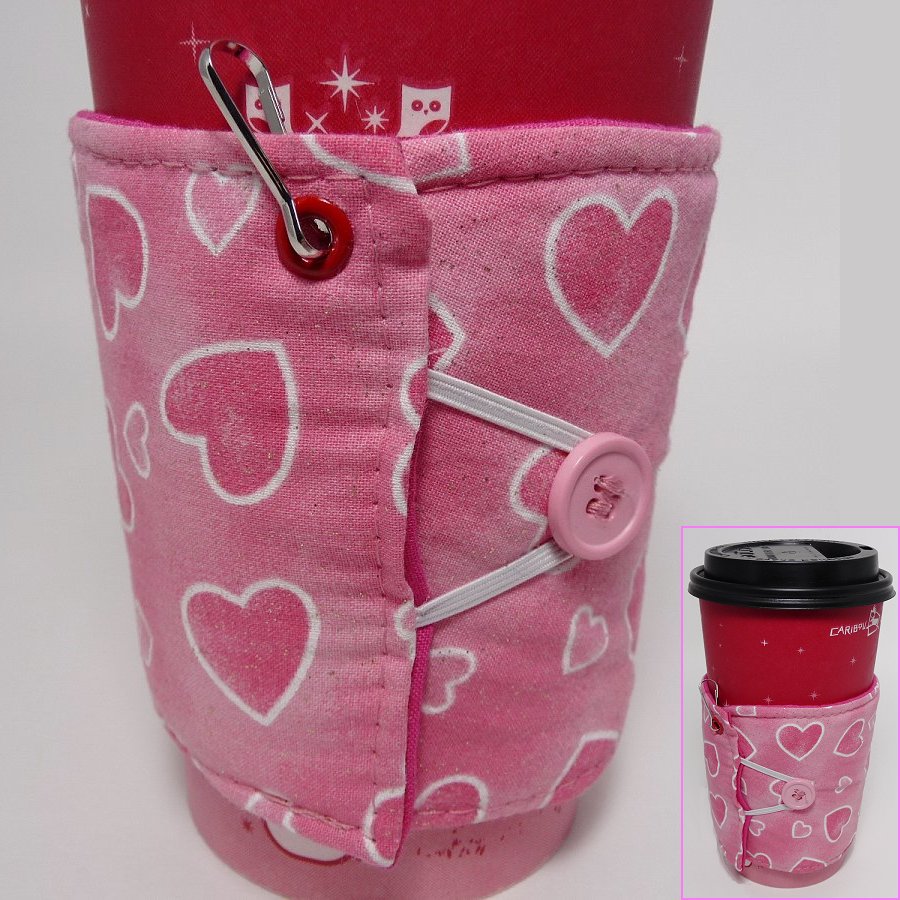
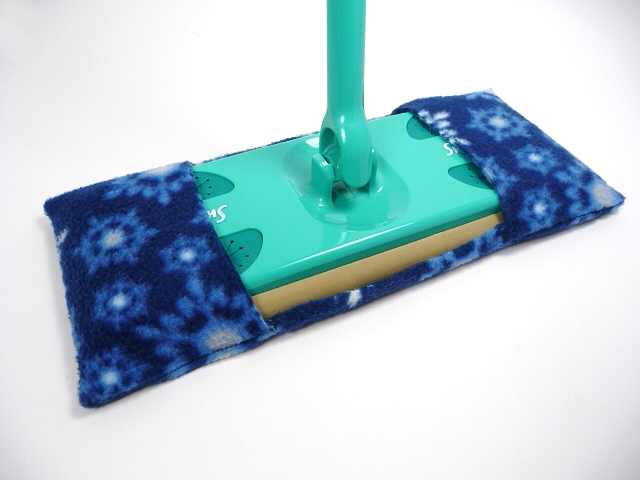 Sometimes I get so busy with designing and making stuff that I neglect my blogging! I've just completed designing a new coffee cozy, The Ultimate Java Jacket, and will hopefully, have the product with a variety of patterns listed soon on my Etsy site. In between designing I've been having all kinds of fun shopping for cool patterns for the reusable floor covers for dust mops. They fit the Swiffer Sweeper and the Pledge Mop. I can't confirm it yet, but it looks like they also fit the Swiffer Sweeper Max. Actually I'm sure they fit any floor duster that is 4"x10". I can do custom orders too... wink wink.